

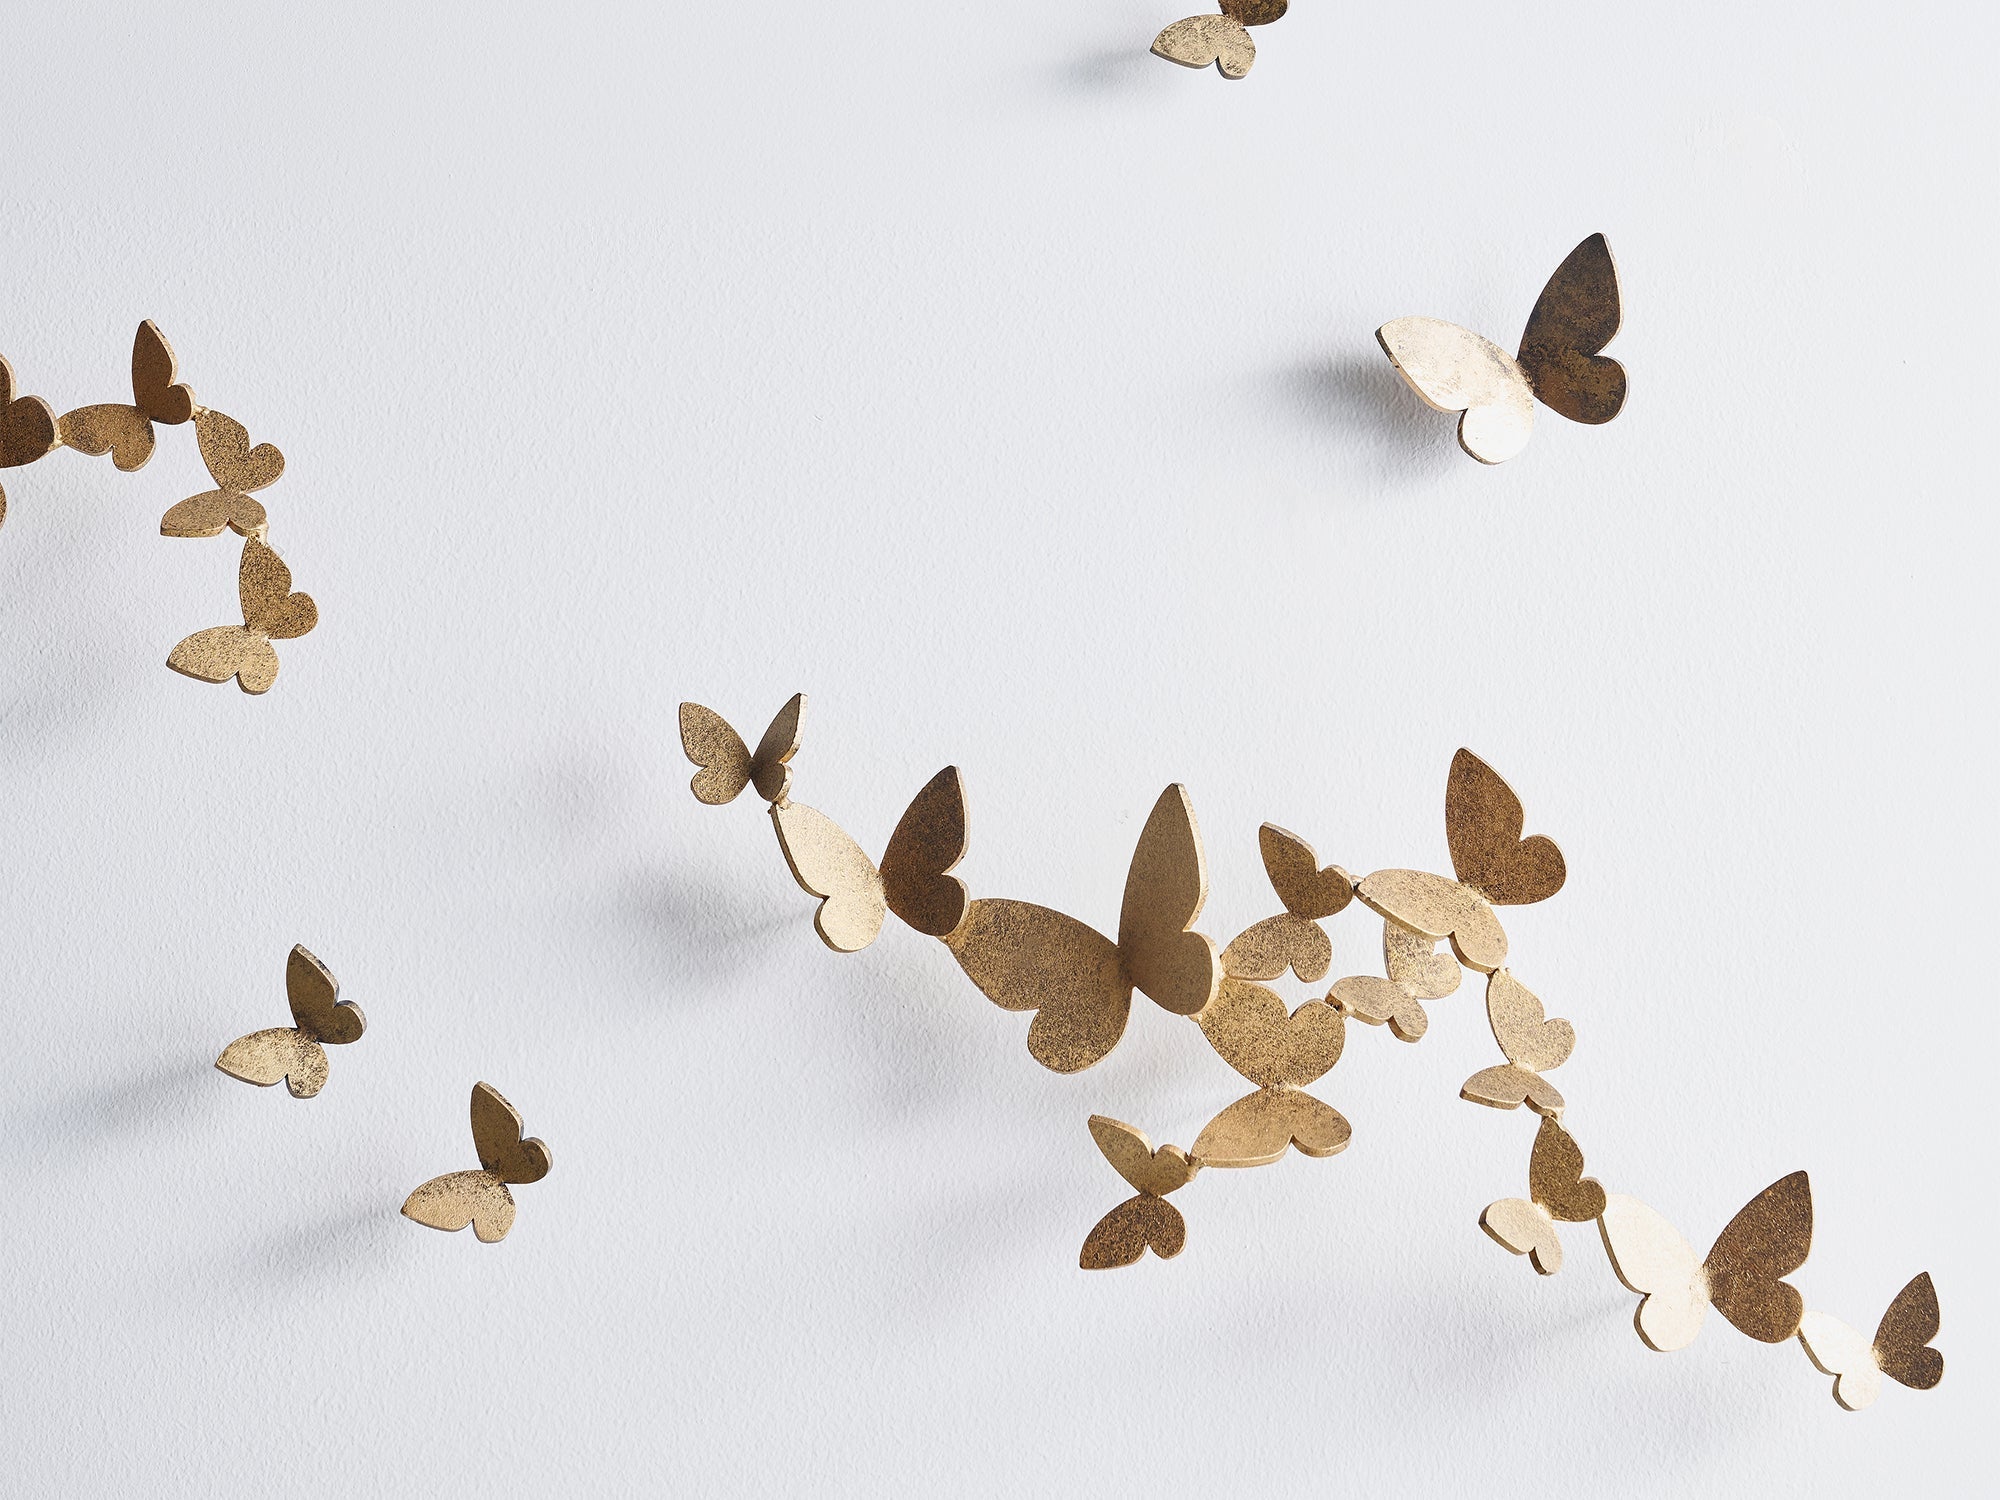
Each Butterfly Wall Sculpture arrives with a full-size paper template that preserves the approved spacing and direction of the composition. Install the template first, then match each metal butterfly to its marked position.
1. Confirm the Layout
Choose a standard flight or approve a custom composition before installation. Review the complete footprint against furniture, trim, switches, sconces, and the primary sightlines into the room.

2. Unpack and Match the Pieces
Lay out the butterflies on a protected surface and match them to the numbers or sizes shown on the template. Keep the supplied installation materials with the corresponding pieces.

3. Position the Full-Size Template
Place the paper template on the wall at the approved location. Step back and check the complete arrangement from the principal entry and seating positions before securing the template.
Confirm the wall substrate and use hardware appropriate for that surface. Contact the studio before installation if the wall condition differs from the approved plan.

4. Match and Attach Each Butterfly
Align each butterfly with its corresponding number or size on the template. Install one piece at a time so the direction and spacing remain consistent with the approved composition.

5. Secure the Sculpture
Set each piece firmly using the supplied method and the hardware appropriate for the wall. Check that every butterfly is stable before removing the paper template.

6. Remove the Template
Once all pieces are secure, cut or tear away the paper carefully around the attachment points. Remove any remaining paper without pulling against the metalwork, then review the complete flight from a distance.

Watch the Installation
This client tutorial shows the paper-template process from positioning through the completed composition.


